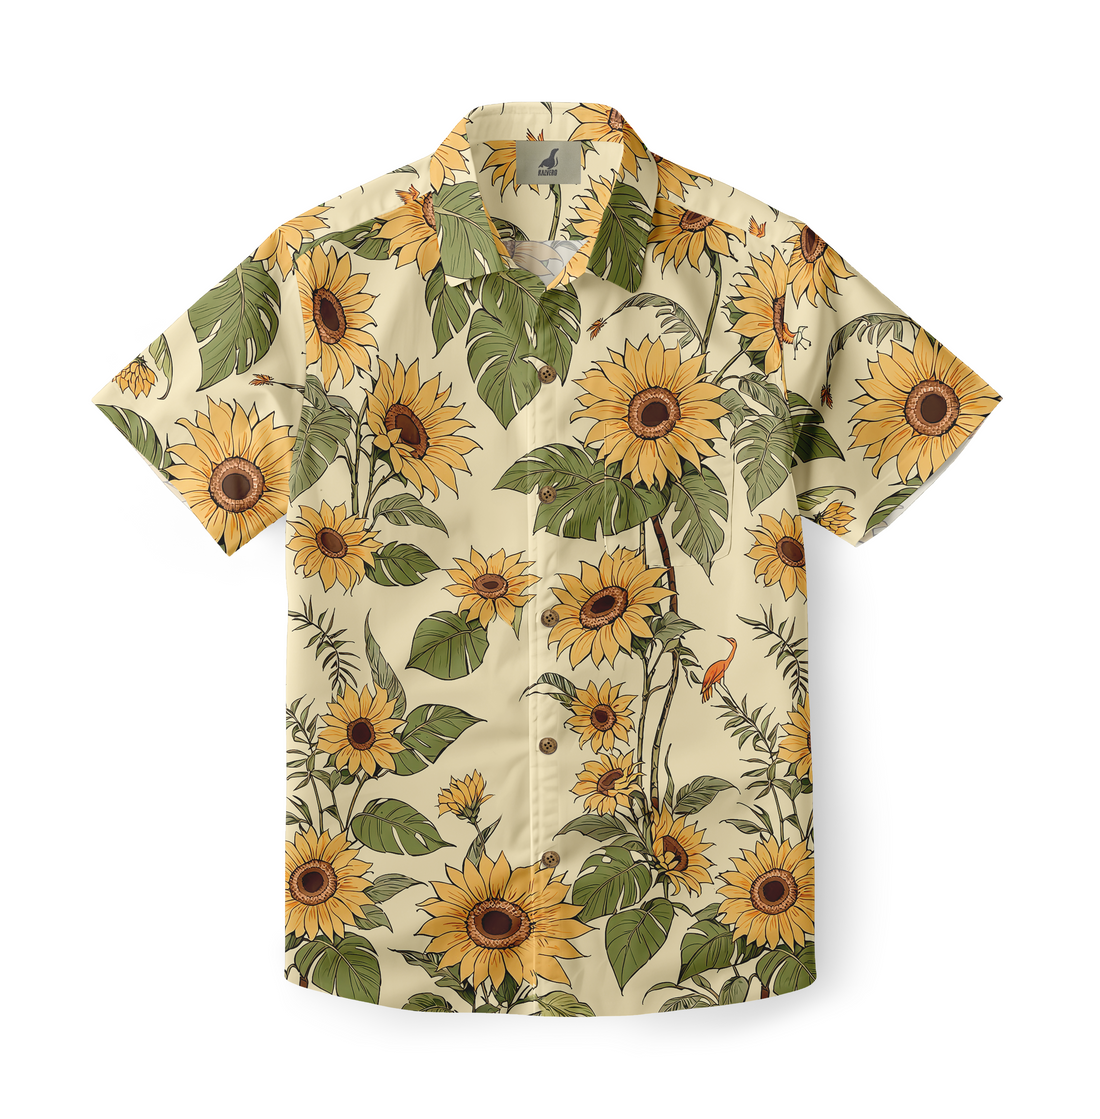
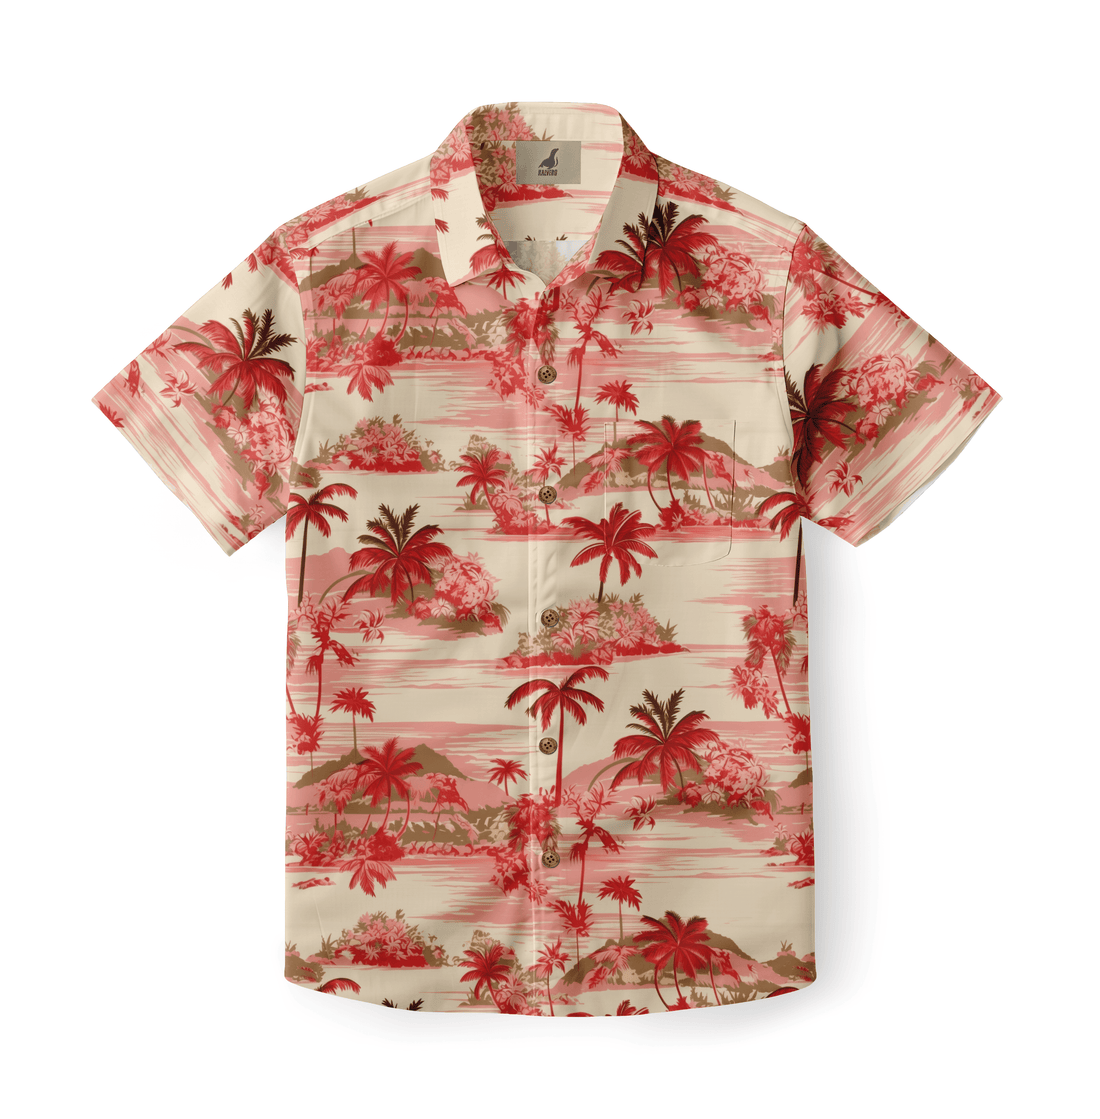
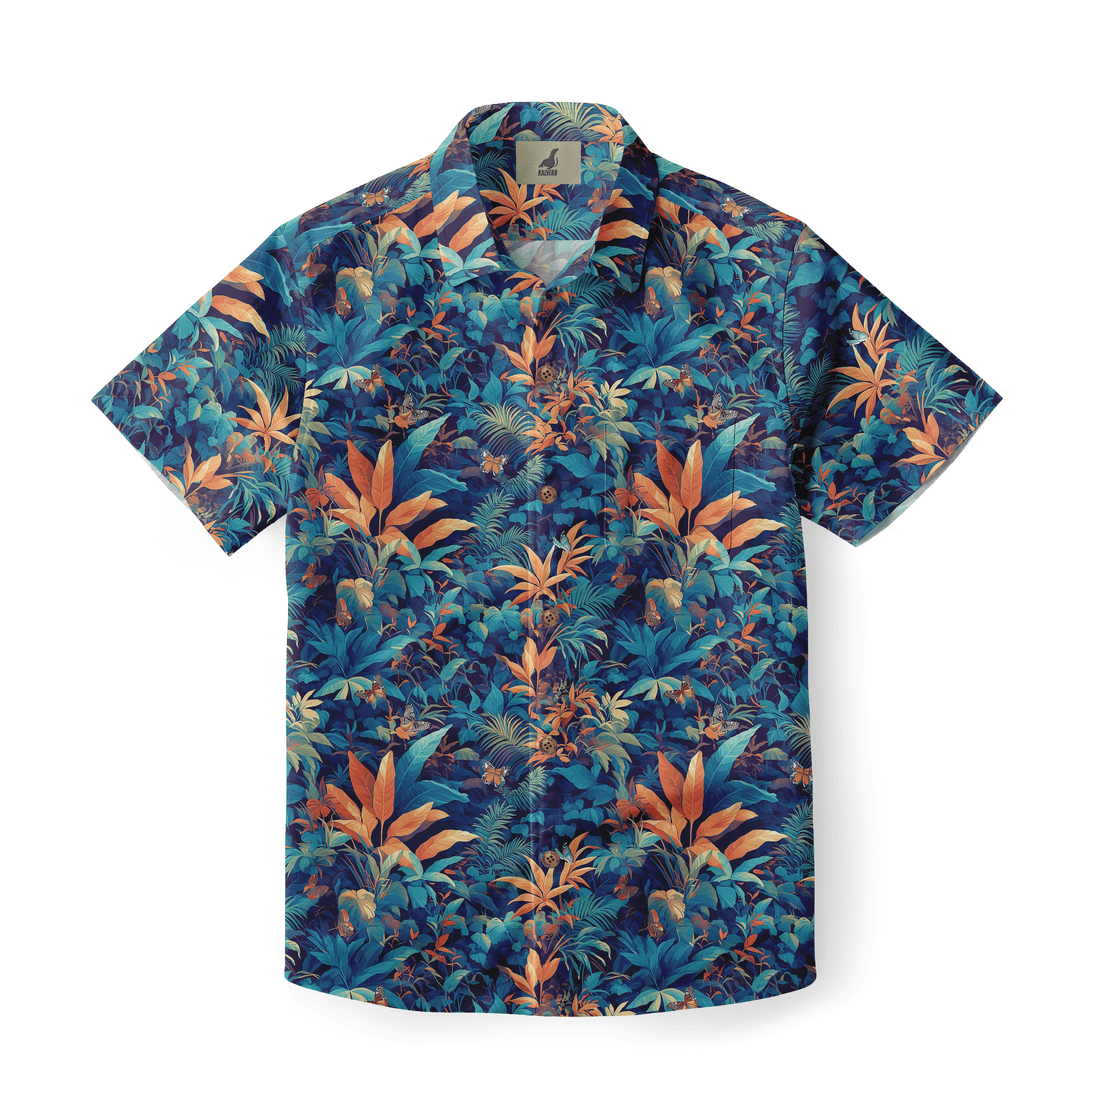
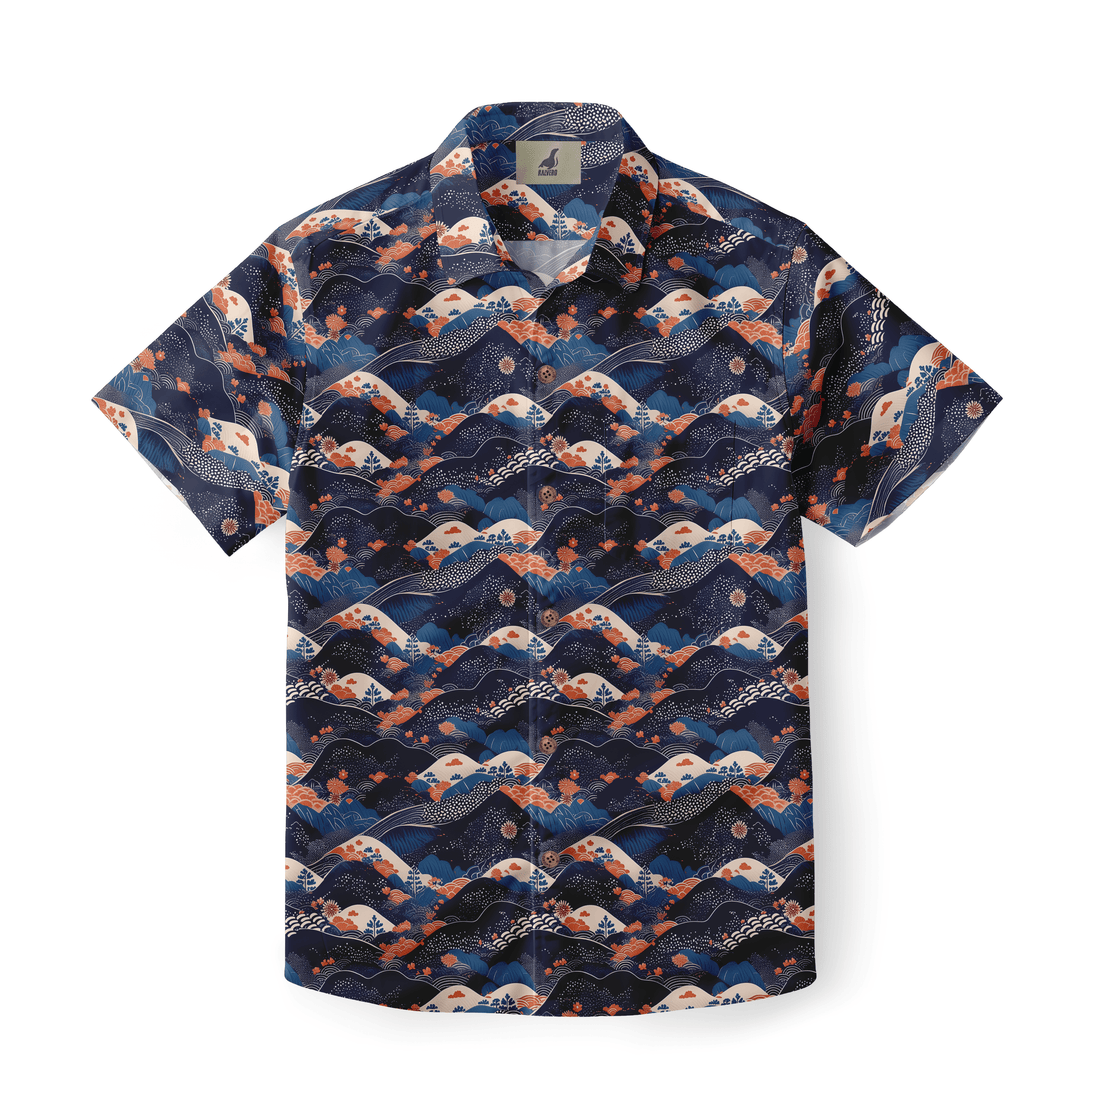
Ever looked at a classic tropical print and wished you could make it truly your own? You absolutely can! A Hawaiian shirt offers a blank canvas for your creativity. Transforming a simple button-down into a one-of-a-kind garment or accessory is a rewarding project. This simple act of personalization lets you express your unique style. It also gives old items a new lease on life. This process is not just about crafting; it’s about sustainable fashion. It allows you to reduce waste and create something personal. Your finished piece will tell a story. It will be a conversation starter. You can truly make your mark on fashion. You can turn something ordinary into something extraordinary. This is the ultimate form of self-expression.
Can You DIY Your Hawaiian Shirt?
Yes, you can easily personalize your own Hawaiian shirt. The process is both fun and incredibly simple. You can use various techniques to add your personal flair. Think about cutting, sewing, or adding embellishments. Essential materials include fabric scissors and thread. A sewing machine can also be very helpful. You might also want fabric glue or patches. A needle and measuring tape are also key tools. Gathering these items is the first step. You are now ready to begin your journey. The possibilities for design are truly endless. You are not limited by store-bought options. Instead, you can create something that is uniquely yours. This allows for complete creative control. You can choose your colors and patterns. You can create a piece that perfectly matches your personality. The best part is that you can do it all at home. No special training is required.
Creative Ideas for Your Hawaiian Shirt
There are countless ways to get creative with your Hawaiian shirt. You can start with simple changes. For instance, try shortening the sleeves for a new look. Or, you could crop the bottom hem. For a bolder statement, add intricate embroidery. You could also sew on decorative patches. Another idea is to combine different shirts. Cut out vibrant patterns from one shirt. Then sew them onto another. This creates a striking patchwork design. These projects are great for beginners. They teach you basic skills. They also give you a great final product. You can even use fabric markers to draw your own designs. This makes the shirt even more personal. You can add a name, a quote, or a favorite drawing. The shirt becomes a wearable work of art.
Upcycling Your Hawaiian Shirt
Instead of throwing out an old shirt, you can upcycle it. This is a great sustainable practice. One popular project is to make a pillowcase. The bold floral patterns look amazing on a couch. Another idea is to create a tote bag. This makes for a stylish and reusable grocery bag. The fabric is often lightweight but durable. It is perfect for carrying your essentials. You can also make a fabric wallet. Just use a few simple stitches. All these projects reduce waste. They turn old fabric into something new. This eco-friendly approach is great for the planet. You can even make small pouches or key fobs. The options are only limited by your imagination. Upcycling gives new life to old favorites. It also saves you money.
DIY Hawaiian Shirt Accessories
Don't let any fabric scraps go to waste. Use them to make stylish accessories. Small pieces of the shirt can become a cute scrunchie. A thin strip of fabric can be a headband. This adds a coordinating touch to your outfit. You can also make fabric patches. These can be ironed onto other clothes. A hat or backpack could get a colorful upgrade. Even a simple button can be replaced. Use one from a contrasting shirt. These small changes make a big impact. They help you utilize all your materials. You can make a matching set. Imagine a shirt with a matching headband and scrunchie. This creates a cohesive and fun look. It shows attention to detail. These small projects are also perfect for using up leftover pieces.
Beyond the Basics: Advanced DIY Projects
For those with more experience, advanced projects await. You can create an elaborate quilt. Each square is a piece of a different tropical print. This makes for a beautiful and personal blanket. Another option is to try fabric dyeing. You can create a new color scheme. Use tie-dye techniques for a unique look. You could also try intricate embroidery. Add a detailed image or text. These projects require more time. They also require more skill. But the final result is truly a masterpiece. You can even try to make a new garment. A simple skirt or shorts could be made from a large shirt. This takes your skills to the next level. It shows true dedication to your craft.
Materials and Tools for Your Project
| Project Type | Required Materials | Essential Tools |
|---|---|---|
| Simple Alterations | Hawaiian shirt, thread | Fabric scissors, needle |
| Embellishments | Patches, embroidery floss | Sewing machine, hoop |
| Upcycling Projects | Old shirt, zipper, lining | Sewing machine, measuring tape |
| Accessories | Fabric scraps, elastic | Scissors, fabric glue |
The table above gives an overview of the tools and materials needed. Simple projects might only need a needle and thread. More advanced ones could require a sewing machine. For example, if you are making a tote bag, you will need a sturdy fabric and a zipper. Meanwhile, a simple patch project only needs iron-on patches and an iron. Having the right tools makes all the difference. It ensures your project is successful. Make sure you gather everything before you start. This saves you time and frustration. A well-prepared workspace also makes a big difference. It helps you stay organized. It allows you to focus on your creative process.
Project Difficulty Levels
-
Beginner: Cropping, hemming, adding iron-on patches.
-
Intermediate: Embroidery, combining fabrics, creating simple accessories like scrunchies.
-
Advanced: Quilting, complex dyeing, or pattern redesign.
The list above helps you choose a project that matches your skill level. Beginners should start with simple projects. These include hemming or using iron-on patches. Intermediate creators might try hand-stitching or combining fabric. This will help build confidence. Experienced crafters can take on more complex tasks. They might try something like quilting. Or, they might try intricate dyeing. Choosing the right project is important. It ensures you have a good experience. It also ensures you get a result you are proud of. Don't be afraid to challenge yourself. Start with something simple and work your way up.
Final Touches and Care
Once your project is complete, you will want to care for it. Wash your newly created item with care. It is best to hand wash with cold water. Avoid harsh detergents or bleaching agents. This will help keep the colors vibrant. When drying, it is better to air dry. Direct sunlight can cause colors to fade. Iron your garment on a low setting. This will prevent any heat damage. Proper care ensures your new creation lasts a long time. It will keep its new look for years. Enjoy your personalized garment. Taking these extra steps will protect your hard work. It ensures your unique creation remains in great condition. You can wear it proudly for years to come.
FAQ
Can a beginner sew a Hawaiian shirt?
Absolutely! Beginners can start with simple modifications like hemming the sleeves or cropping the bottom. These projects require very few sewing skills and build confidence for more complex tasks. A beginner can also use fabric glue to attach patches or ribbons, avoiding the need for a needle and thread entirely. Starting small is the key to a successful and enjoyable project.
What is the best fabric to use for a Hawaiian shirt?
Traditional Hawaiian shirts are made from rayon or cotton. These fabrics are light and comfortable, making them perfect for warm weather. They are also easy to work with, holding dye and stitches well, which makes them ideal for various DIY projects. These fabrics are widely available and come in a vast array of colors and patterns, offering endless creative possibilities for your project.
Where can I find old Hawaiian shirts for projects?
You can often find great shirts at thrift stores, which are an affordable option for finding unique prints and colors. You can also check out online marketplaces or even yard sales. These places are great for finding unique items to upcycle. Look for shirts that are 100% cotton or rayon, as they are easier to work with than synthetic blends.


